
Reorganizing the Z3 code base
Today, we release Z3 4.3.0. This release contains many bug fixes, a new build system, and, more importantly, a complete reorganization of the code base. Now, the code is organized in sub-directories under the directory src. It is much easier to find the module we are interested in. For example, if we want to read the nlsat source code, we just have to go to the directory src/nlsat. The new code reorganization also allow us to easily create binaries/libraries that contain only a subset of the components available in Z3.
We are also officially switching to a three number naming scheme for version numbers. The plan is to have more frequent releases. We skipped version 4.2 because the binary tagged as 4.1.2 was reporting version 4.2. Many thanks to Claude Marche for reporting this problem.
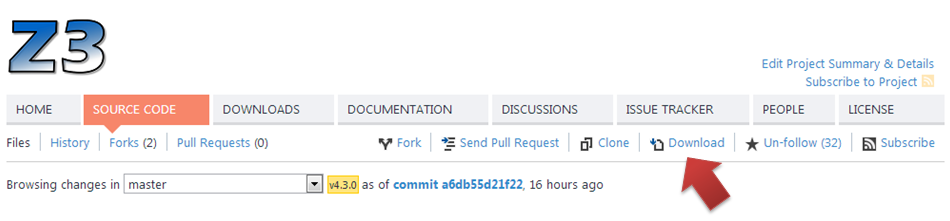
Moreover, we realized that it does not make sense to provide zip files with source code at codeplex. Codeplex provides a “Download” button that automatically creates the zip file for any version/branch/commit. We just have to go to the “Source Code” tab, select the version we want and click “Download”.
The master branch is the official branch. We use the unstable branch for work-in-progress that will be included in the next release.
Finally, we re-started to provide pre-compiled binaries for Windows. The new binary distribution is much simpler,
it is just a zip file with the binaries, DLLs, and include files. We have a zip file for 32 and 64 bits.
One bad news is that the ML bindings are still not working in this version, but we will fix that in future releases.
Building Z3
The new build system is based on python. The script scripts/mk_make.py creates the Makefile, generates bindings for .Net and Python, DLL definitions, etc.
It can also optionally create an auxiliary Visual Project file for people that cannot live without Visual Studio intellisense.
The generated Makefiles can be compiled using Visual Studio nmake or GNU make.
By default, the script scripts/mk_make.py generates the Makefile in the subdirectory build.
Building Z3 on Windows
To compile Z3 on a Windows machine, we should open a Visual Studio Command Prompt (All Programs > Microsoft Visual Studio 20xx > Visual Studio Tools), go to the directory where the Z3 source code is located, and type
python scripts/mk_make.py
cd build
nmake
Building Z3 on Linux, OSX (and cygwin)
In other platforms, we just have to execute the following commands.
autoconf
./configure
python scripts/mk_make.py
cd build
make
The example applications can be built using
make examplesZ3 can be installed in these platforms using the standard
sudo make installThe binaries and libraries are installed in the “prefix” specified in the ./configure script. The default “prefix” is /usr.
To uninstall, we just have to execute
sudo make uninstallCustom builds
To list all command line options available in scripts/mk_make.py, we just have to execute
python scripts/mk_make.py --helpFor example, the option --debug generates a Makefile that builds Z3 in debug mode.
The file scripts/mk_project.py defines all existing modules and dependencies between them.
Leonardo de Moura
Senior Principal Applied Scientist in the Automated Reasoning Group at AWS
leodemoura0@gmail.com
